The very first set of course videos I watched with my renewed membership were Jim DiVitale’s Commercial Photography Lighting Parts I & II. With the watch product photography work I do, these videos were fantastic – some of the best I’ve viewed on the site. What was really great was that in each lesson, Jim would take you in the studio to show you the equipment and set up he used for a given type of product, then the following lesson would be pure Photoshop to see Jim’s workflow and editing/enhancement techniques on the photos he takes in the lesson prior. So you get a real “soup to nuts” view of how he does product photography.
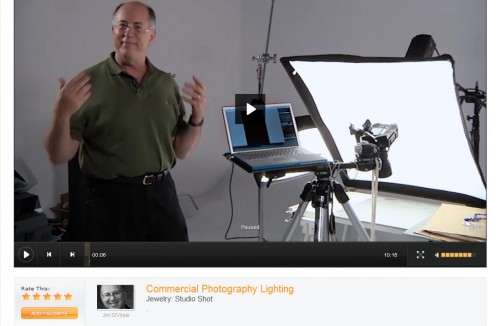
One of the immediate takeaways from these videos for me was to see the advantages of shooting “tethered” with a laptop connected to your camera. Here’s a screen shot from the video which shows Jim’s laptop tethered to his camera:
Jim shoots with Canon equipment like I do, and demonstrated how he used the Canon EOS Utility software to do things like set custom white balances, refine focus and composition, and overall make sure you get shot right the first time, leaving less to do in Photoshop post-production work.
I’ve often considered shooting tethered, but never had a good spot to put my laptop in my studio area, so I never took the time to try and rig something up. Seeing Jim’s setup above really made things click for me, so my first step was to try and duplicate his tripod mounted laptop stand. Of course, he’s using a top quality (and hideously expensive) Manfroto T-Bar tripod attachment, which allows him to mount his laptop and camera on the same tripod. But I found this gem for less than thirty bucks on Amazon:
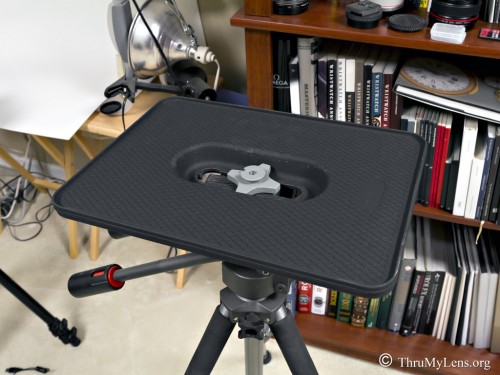
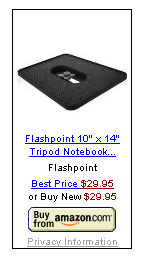 This laptop platform has a built-in tripod mount, and screws on easily to any standard tripod. Like any photographer, I’ve got a couple of extra tripods in the closet, and I mounted it to one of my extras. Here’s a photo of the very sturdy, metal platform mounted on one of my tripods:
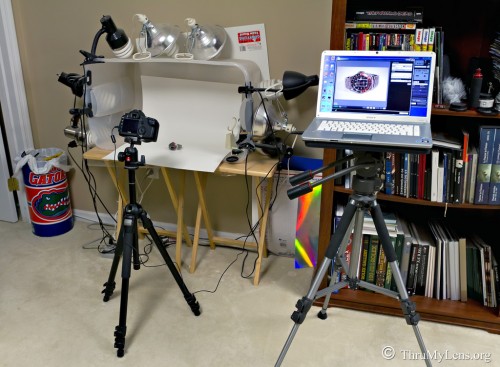
My 5D Mark II came with a nice long USB cord designed for tethering of this nature. Here’s a photo of my tethered studio set up, with my laptop running the Canon EOS Utility Software:
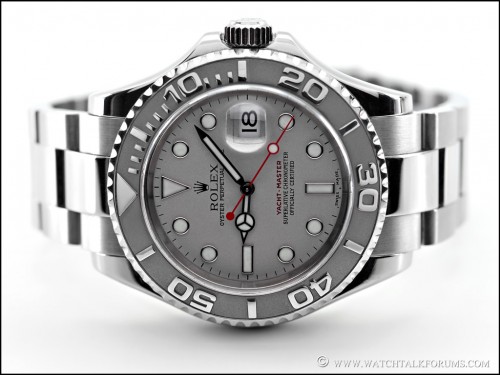
And here’s a finished photo of my first test subject – my Rolex Yacht-Master in stainless steel and platinum:
Looks good don’t you think?

Hiya, only a simple question…you are using a macro len for a watch photography?
Yes I am – The Canon f2.8 100mm USM Macro lens.
Your product pics are very good. Product photography is a hobby I am getting into and your setup pic above gave me some ideas. I really like that you are using a semi opaque storage box as a light box and diffuser . I made a flimsy one out of a cardboard box and tissue paper but your idea works way better as you can put lights on top or clamp them.
Questions:
What colour temperature are your light bulbs? I use relatively cool 5000k or 6500k LED bulbs.
What is your colour temp setup on your camera? I set mine up on auto but its a Nikon and has an Auto2 function that retains warm colours in the products.
Andrew – all my bubs are “daylight” temperature designed for photography. Also, I use a custom white balance specifically tuned to the lighting in my box.