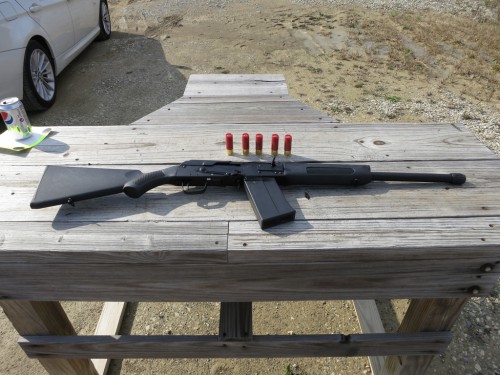
After researching it, I decided I wanted to do a conversion to my Saiga 12…along with a few other medications designed to reduce recoil. I ordered all my parts from Greg Queen of Carolina Shooters Supply and Mississippi Auto Arms – both leading supplier of Saiga 12 components and accessories which offer 5% discount codes for members of the Saiga 12 Forum. CSS also has a GREAT video tutorial which takes you step-by-step through the conversion process. Now, I’ve never considered myself particularly mechanically inclined. But the changes and upgrades I’ve done to my AR-15 in recent months have given me a degree of DIY confidence. Still I was unsure…I went into the project thinking “I’ll do as much of this as I can on my own, and if I hit a brick wall, I’ll box up the parts and take them to my gun smith.” The 5-part video tutorials which Greg from CSS produced were invaluable as I stepped through this project and I never would have been able to do the work I did on my own without it. Thanks Greg!
The first thing I did to my Saiga 12 was to replace the stock gas knob with the much recommended MD Arms V-Plug. The sock gas plug only has two settings, while the MD Arms model has 5, which allows you to more finely dial in the flow of gas so you can use lower power ammunition in the Saiga 12. Next I installed this nifty muzzle break from JTE Enginnering:
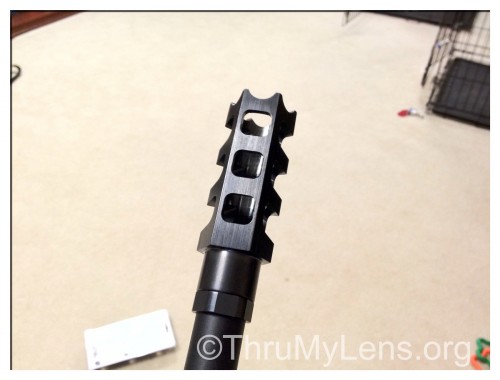 The muzzle break is designed to help reduce recoil and muzzle rise while shooting. Plus I think it looks cool with the added door breaching teeth.
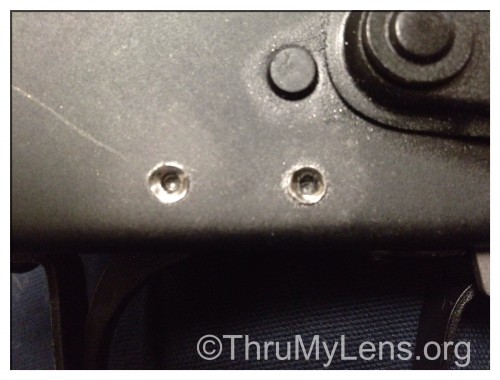
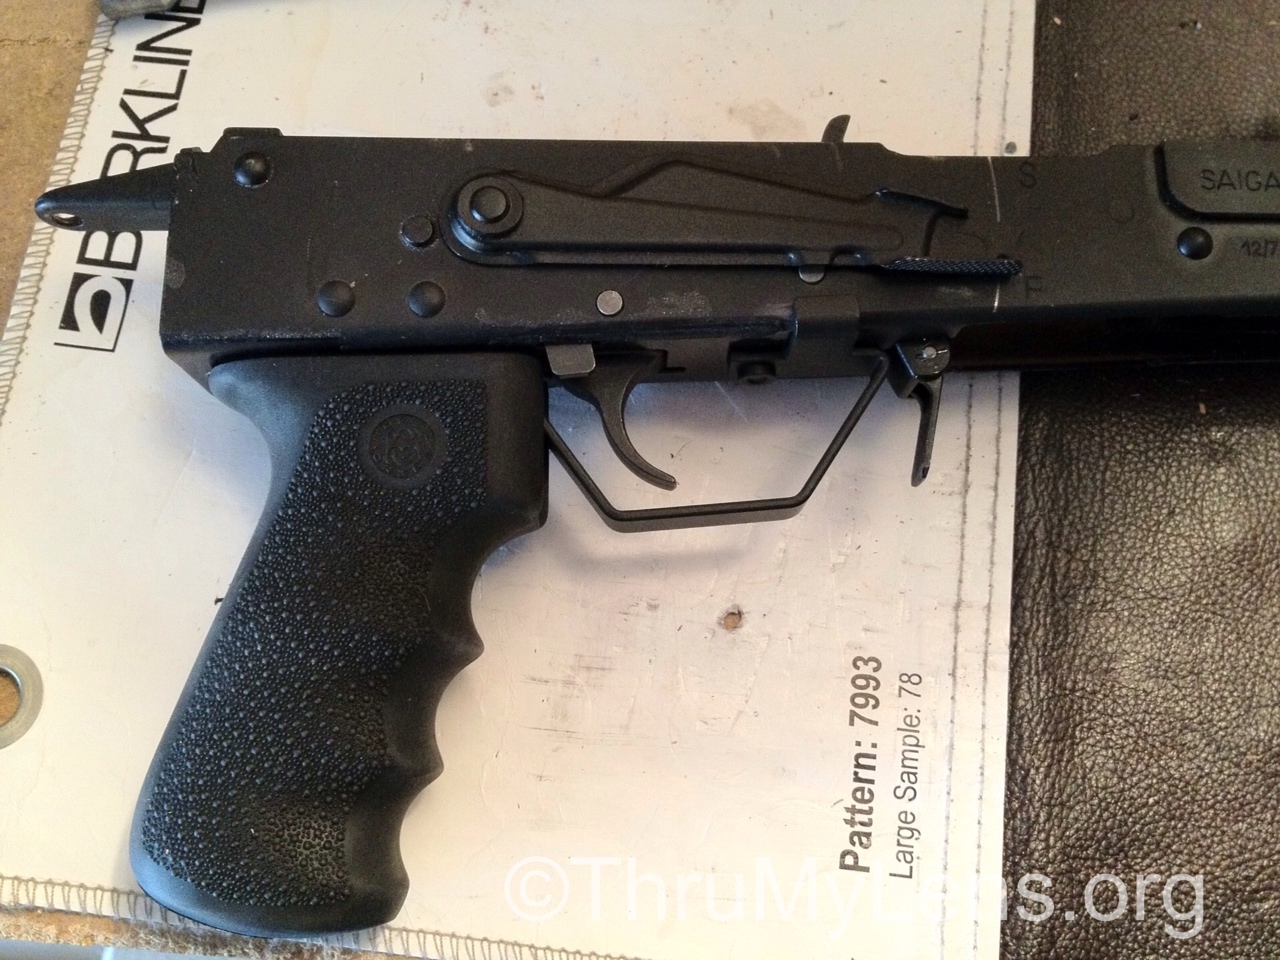
With those two couldn’t-be-easier modifications made, it was time to begin the actual conversion. Following the video tutorial from CSS, it took me about 20 minutes to completely disassemble my Saiga 12. From there it was time to get out the drill…the Saiga 12 has two pins which hold in the trigger assembly group, and three which secure the trigger guard. All five of these pins are riveted in place. To remove the trigger and trigger guard, you have to drill out the rivet heads in order to remove the pins which hold them. By and large, the video tutorials done by CSS are excellent. However, in the videos you’ll notice it doesn’t take more than 30-60 seconds for the drilling to be completed on any one of the rivets. It easily took me about 25-30 minutes per rivet. Here’s a photo of the two trigger pin rivets I was drilling on:
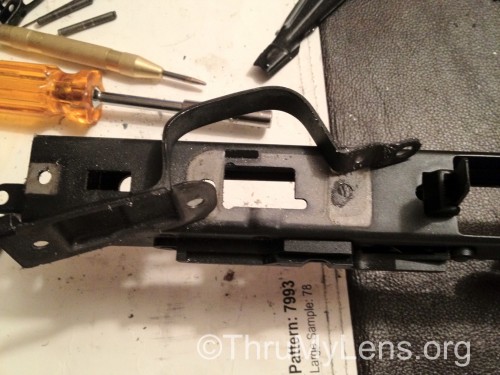
 Here’s a photo of the rivets which secure the pins holding in the trigger guard – one is off (left), and I’ve got a good start on the second.
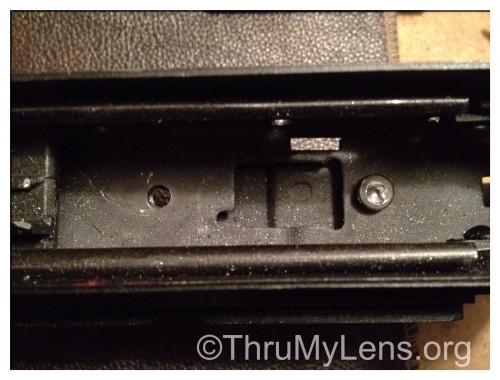 You’re looking at about an hour’s worth of drilling with my 18v DeWalt drill in the above photos…compared to about 2 minutes in the video. I assumed Greg’s video tutorials would tell me all I needed to know about the conversion, but as it turns out this was a mistake on my part. In reviewing this excellent article in the forum section of Saiga12.com, there’s a significant discussion about how challenging it is to drill through the Russian metal on a Saiga 12, and that a titanium or cobalt drill bit is recommended. I emailed Greg from CSS and sure enough, he indicates that he’s using a cobalt drill bit in the video. So, I was off to Home Depot to find a cobalt drill bit:
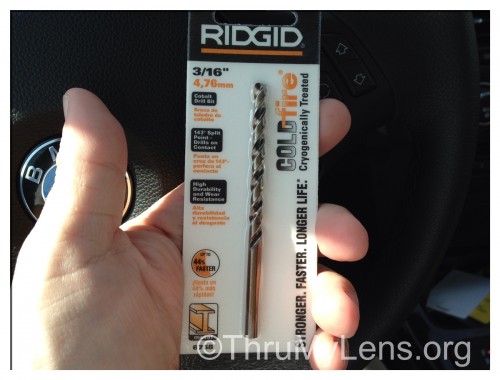 Once I placed the cobalt drill bit into my drill, drilling went MUCH faster – much like what is demonstrated in the CSS videos. With the final three rivets out, I got the stock trigger guard off my Saiga 12:
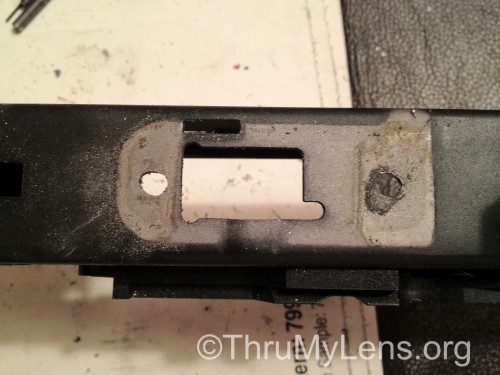
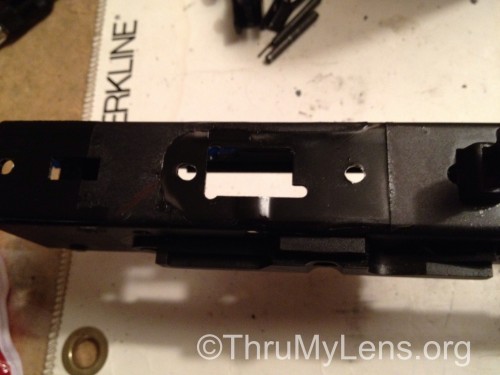
The metal area where the trigger guard was mounted underneath the receiver is exposed and has no paint applied:
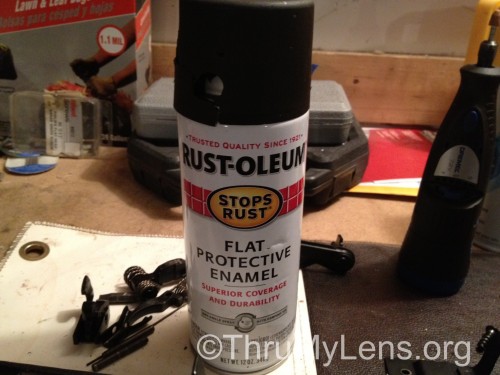
Greg at CSS recommend I use good old Rustolium in black on this area.
Here’s how it looks after I used painters tape, applied a coat of paint, and allowed it to dry overnight:
Obviously my paint job isn’t a perfect match to the existing paint, but that’s OK – this is the underside of the gun. I was more concerned about rust protection.
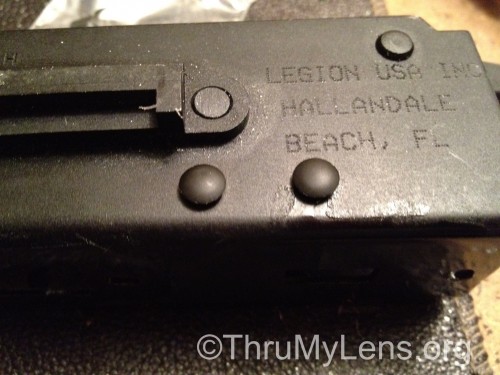
Next, I put in the plastic hole fillers/plugs I got from CSS which will fill in the rivet holes which will no longer be used after the conversion:
Now it was time to assemble the Tromix trigger and hammer which will replace the stock trigger group – this was pretty simple, even for me. Here they are assembled and ready to drop into the receiver:


WOW John, I am really impressed. Way to go. I am anxious to see the next step.
Thanks Shaun – I’m anxious too. 🙂
Great job John! Thanks for sharing your project.