

Back in February of this year, I wrote about the fact that I put in a pre-order for the FujiFilm X100VI. If you haven’t already, I do recommend you check out that article because I talk about why I decided to order this camera. Pre-orders for the X100VI opened on February 19th at 1 AM EST. The camera really wasn’t on my radar so I wasn’t ready and waiting to place my order at 1 AM on the 19th. I waited. I think I waited about two days before I placed my order. And it turns out, this camera would generate unprecedented demand and global pre-orders exceeded 150,000. FujiFilm reportedly opened a factory in China dedicated to producing just this camera. And still, I waited months for my pre-order to be fulfilled. And I waited. And waited. And waited more. Then, exactly one week after I shelled out $4300.00 plus tax for my shiny new Canon R5 Mark II, I got the call that my name finally came up on the wait list and that I was being shipped a new $1599.00 silver X100VI. It’s a good thing I had the money set aside to spend over $6000 in one week on cameras….
I’M A CANON GUY
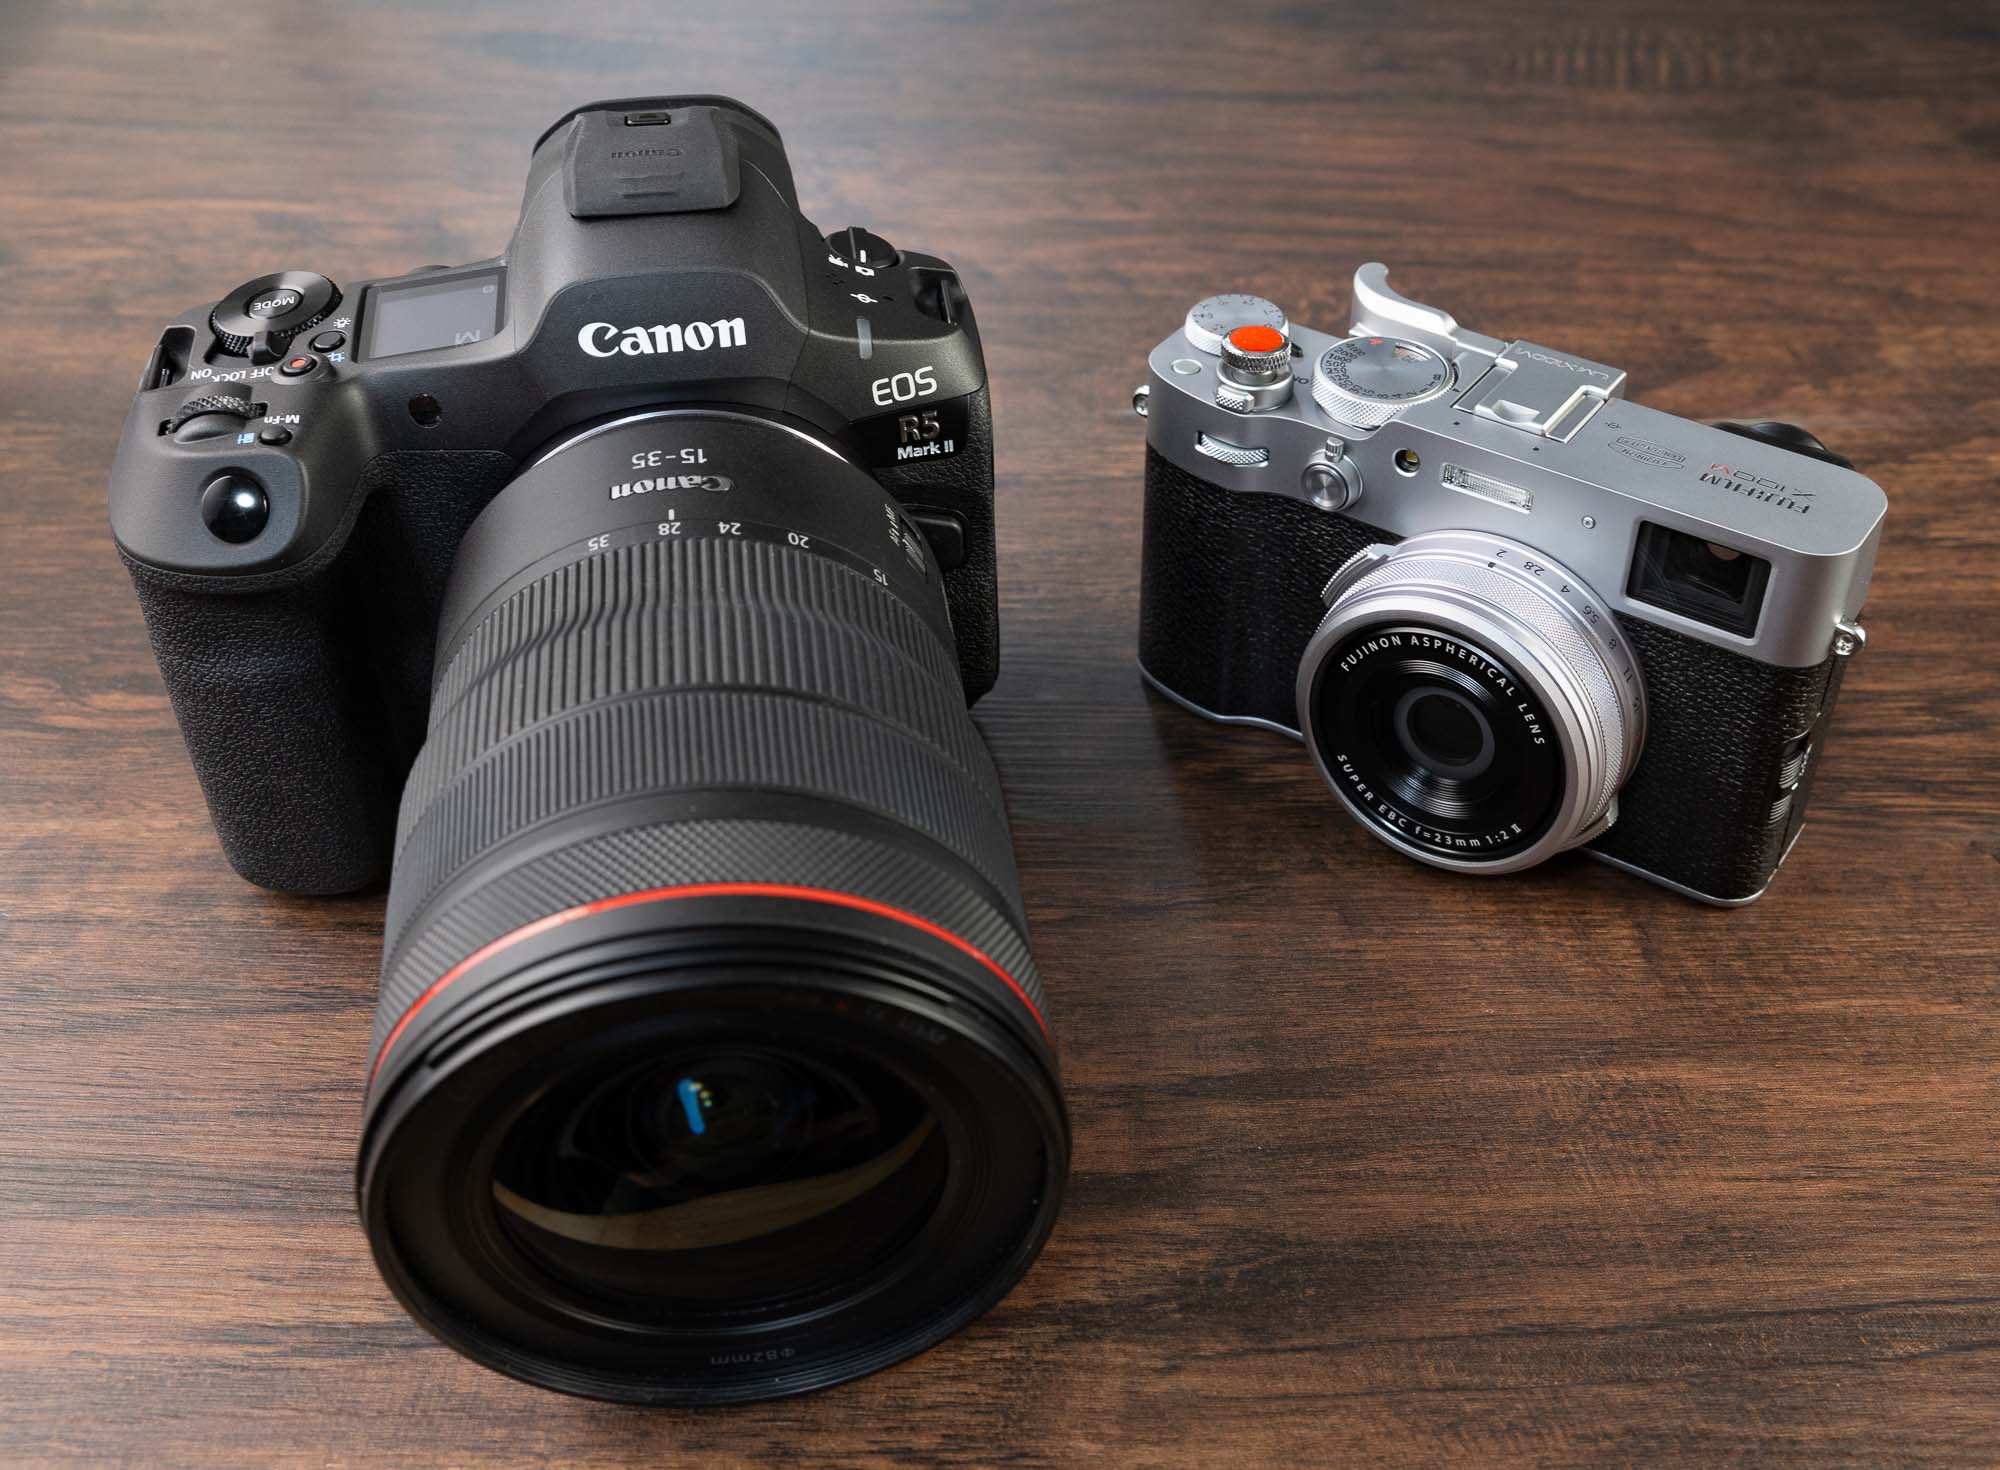
I’ve been shooting Canon interchangeable lens cameras since 2002 when I purchased the Canon Rebel 300D with the 18-55mm kit lens. 22 years and counting, outside of shots I take with my iPhone I’ve used Canon. I went into detail about why I preordered the FujiFilm X100VI back in April. But suffice to say that the X100VI is probably the highest selling, most popular camera…ever. So if nothing else, I was curious to understand why. The hype train started during the pandemic with this camera’s predecessor, the wildly popular FujiFilm X100V. And unlike Peloton, FujiFilm’s hype train only gained steam when pre-ordering opened on the X100VI. Again, I only waited two days after the pre-order period opened to place my order… and that two days of indecision cost me six months. Six. Months. That’s how long it took for me to get this camera.
KEY SPECS
I’ll spare you a long and detailed list of specifications. Here are the highlights:
- 40MP BSI CMOS APS-C X-Trans sensor
- 35mm equiv F2 lens
- In-body IS rated at up to 6EV of correction
- Hybrid optical/electronic viewfinder (3.69M dot OLED panel)
- Machine-learning trained subject recognition AF
- 14 film simulations
- 6.2K video capture and 10-bit recording
- Built-in 4EV ND filter
- Tilt up/down rear touchscreen
Crop sensor? Fixed lens? Coming from interchangeable lens, full-frame Canon cameras, I was more than skeptical that I’d be happy with the images produced by the X100VI.
INITIAL SETUP
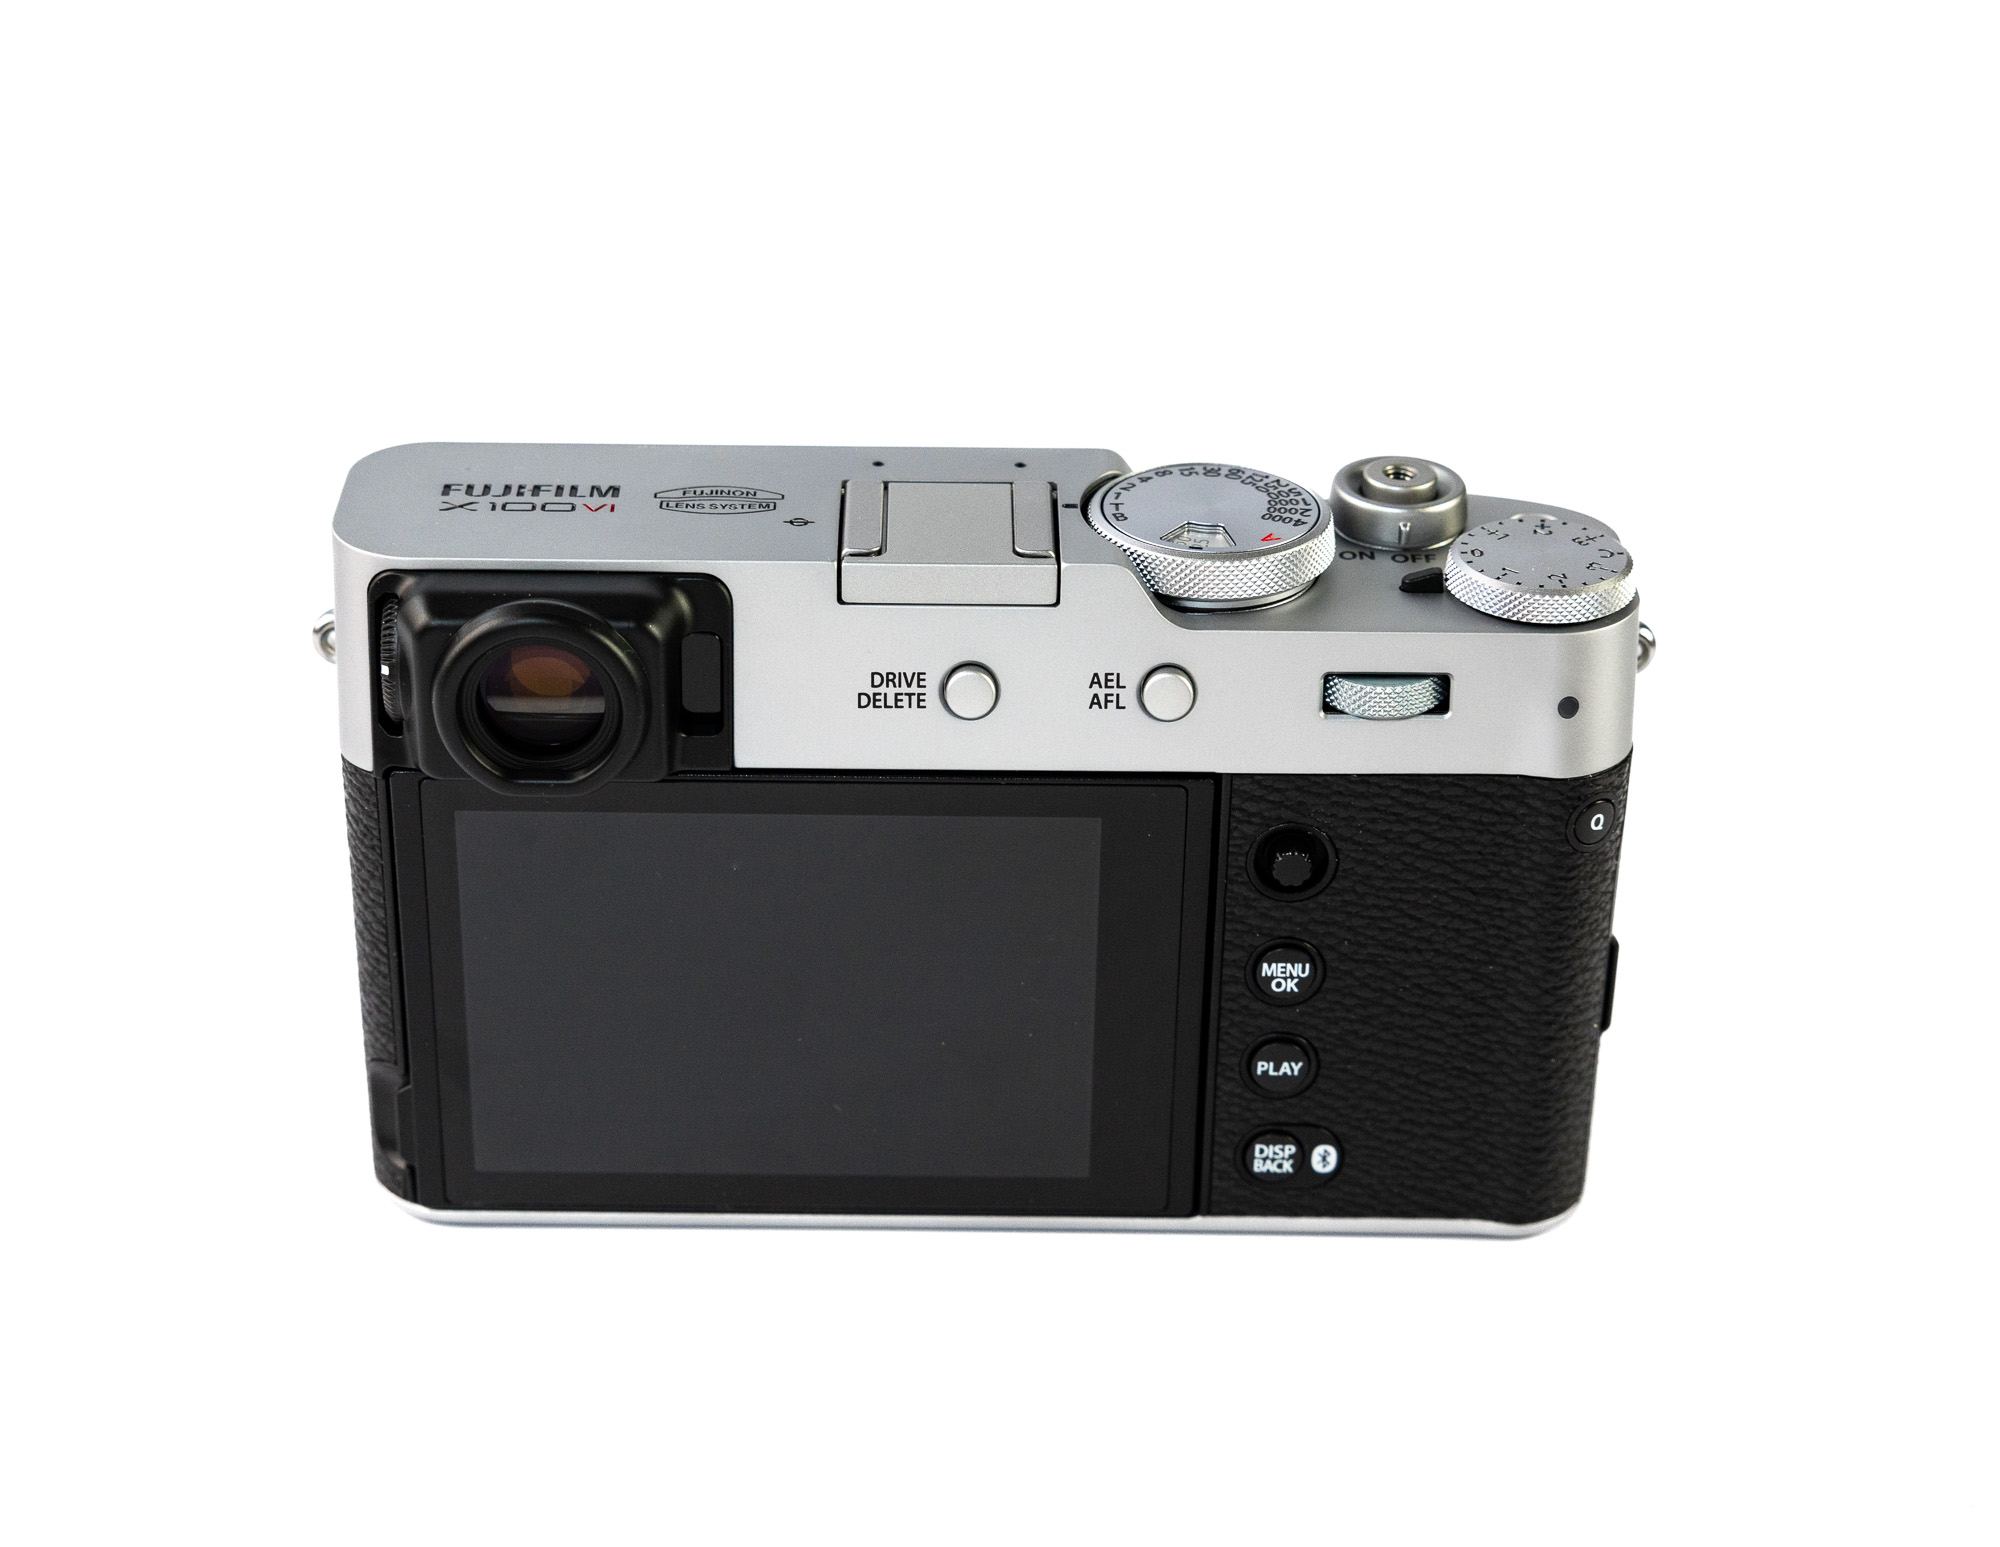
I’m not going to lie – being completely unfamiliar with the FujiFilm ecosystem, I went straight to YouTube university and took in a couple of initial set up videos. I’m very glad that I did. Right off the bat, I have to say I really like the layout of the physical buttons and dials. These days I shoot mostly manual on my Canon cameras, and I appreciate having physical dials for things like shutter speed, ISO, and aperture. The menu system, however, is a different story. It’s certainly not very intuitive (actually counter intuitive in some cases) and questionably laid out. I tried to temper my expectations. What I will say is that it’s immediately apparent FujuFilm cameras provide considerably more control over the shooting experience and customization of the camera than Canon. Which can be both good and bad. The analog I’ll use here is the difference between iOS and Android. iOS users like myself appreciate the straightforward simplicity of iOS – I just want to be able to pick up my phone and have it work on the consistent, basic things I do with the phone. And iOS excels at this. But there’s no question that the Google Android operating system gives you many more options and control over the user experience than iOS. Given my almost 25 years of time spent in Canon menus (lauded as among the best laid out menu systems of any Camera manufacturer), I knew I was going to need some help setting up my new X100VI. If you’re coming from another camera system like I was, do yourself a favor and watch one of the several set up videos on YouTube for this camera. It will not only save you a lot of frustration, but it will also help build a foundation of understanding for you to get comfortable with the less than the stellar Fuji menu system. The one I used was from the “pal2tech” channel called “X100VI For Beginners Setup.”
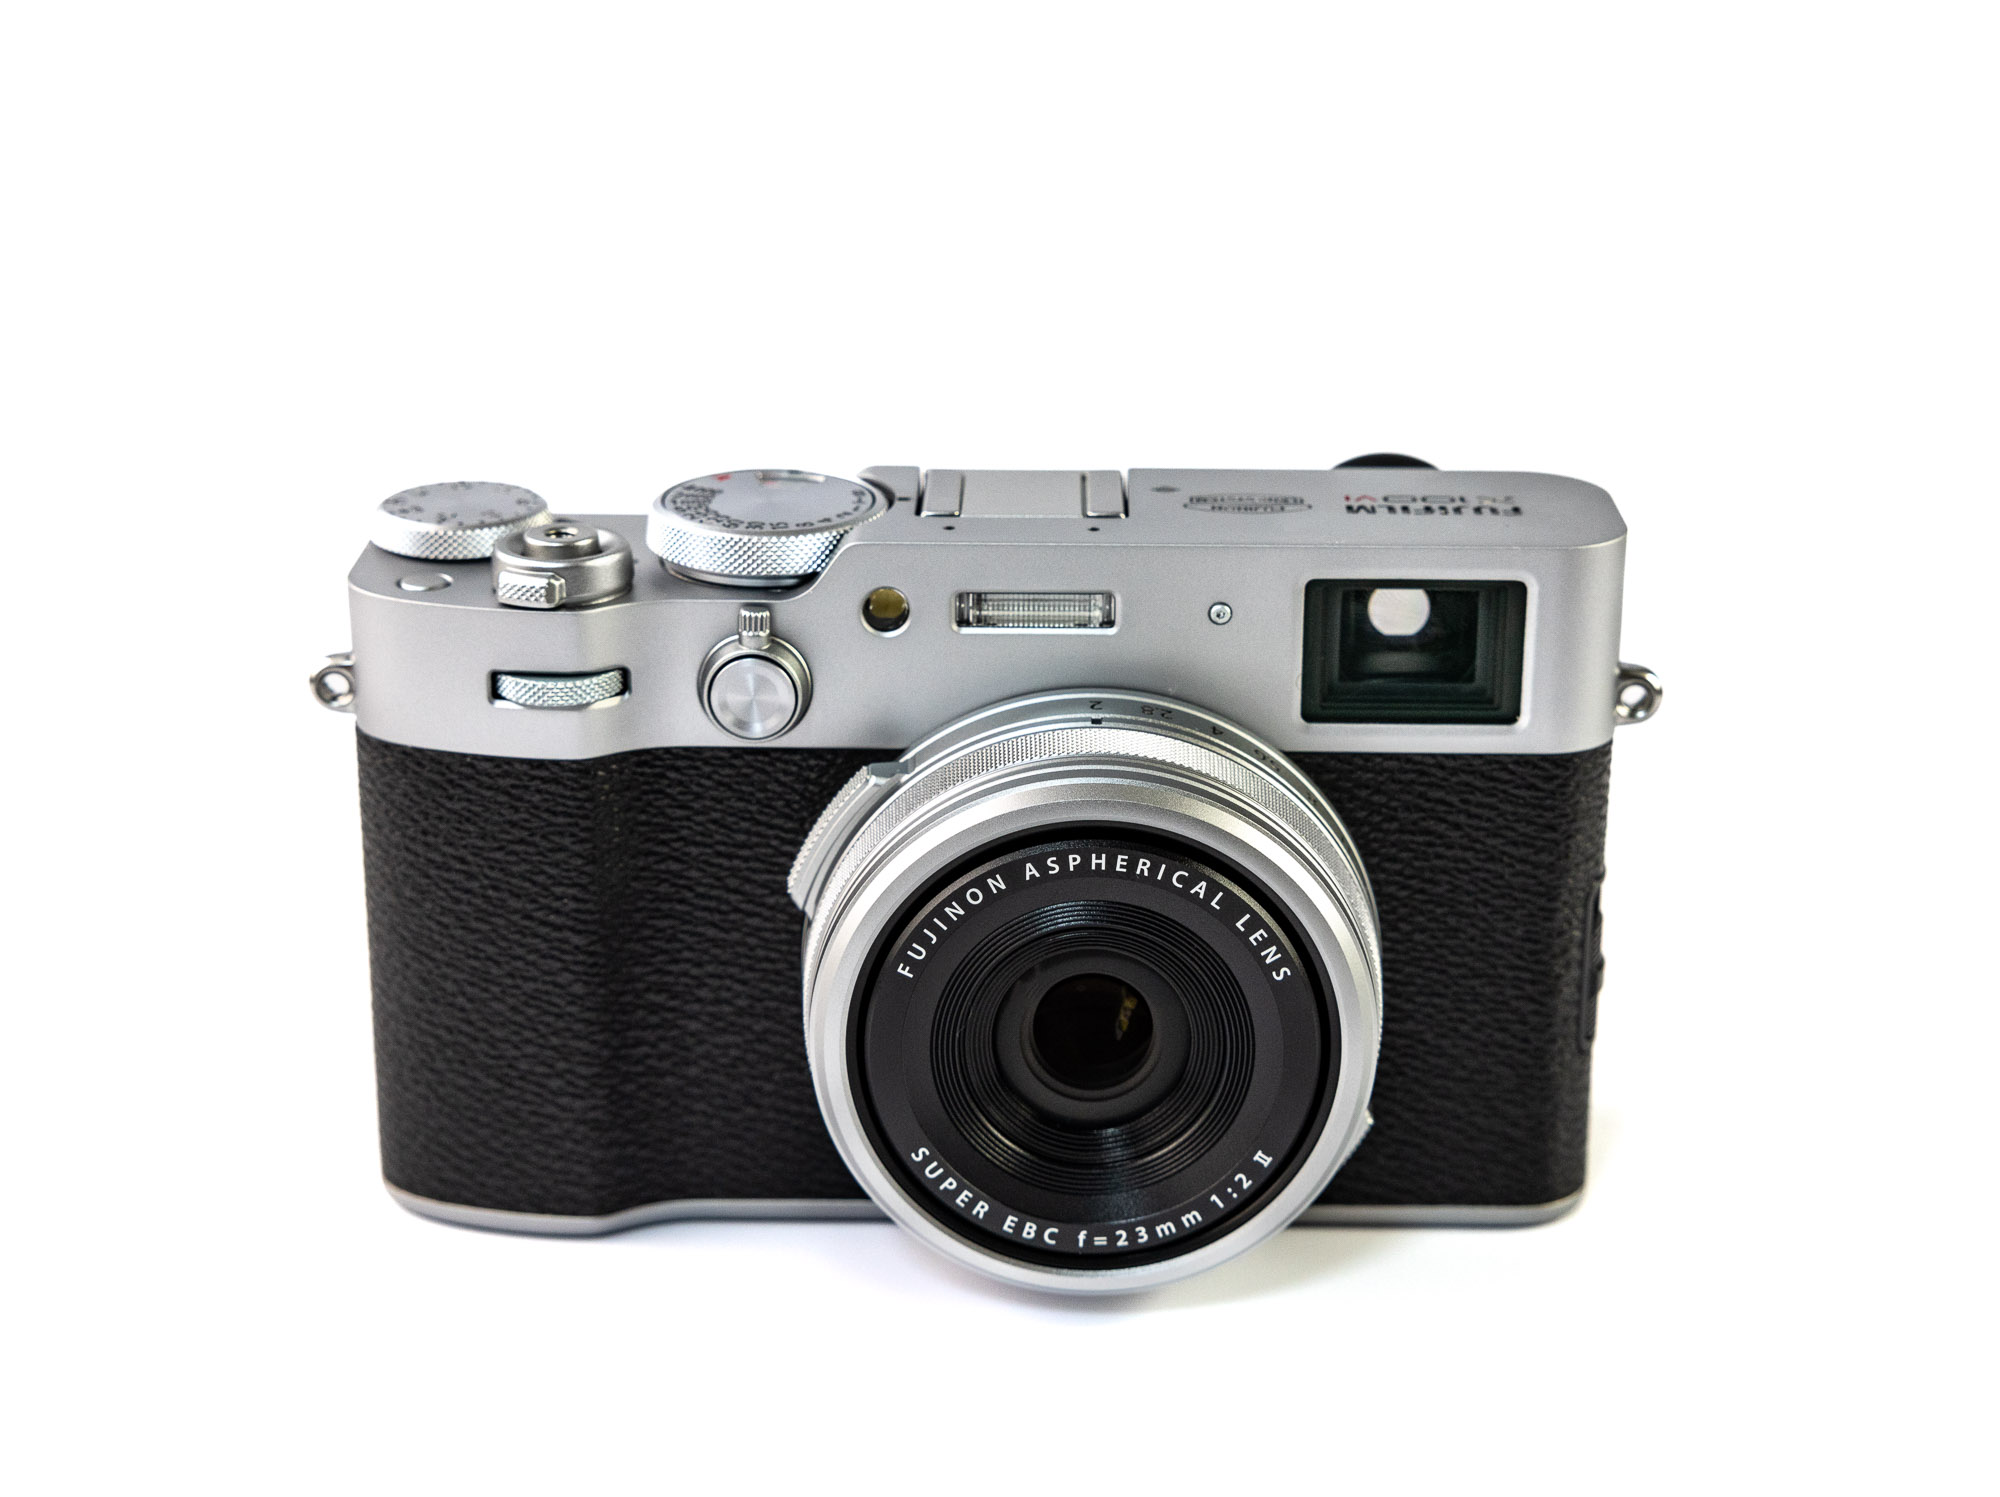
Lots of bottoms and dials; almost none of which are intuitive. The menu system is worse.
During the initial set up, I got a feel for the first time for the build quality on the camera as well as the ergonomics. Despite coming from a factory in China (which doesn’t thrill me) it does have a pretty high quality feel and appearance. A huge part of the popularity of this camera is less about the images that it produces and more about how pretty the package is. A shocking number of Tik-Tok hipsters bought this camera as well as the predecessor X100V model as a mere fashion accessory…I kid you not. Yes, it is a very good looking camera and yes, I do appreciate the vintage aesthetic.
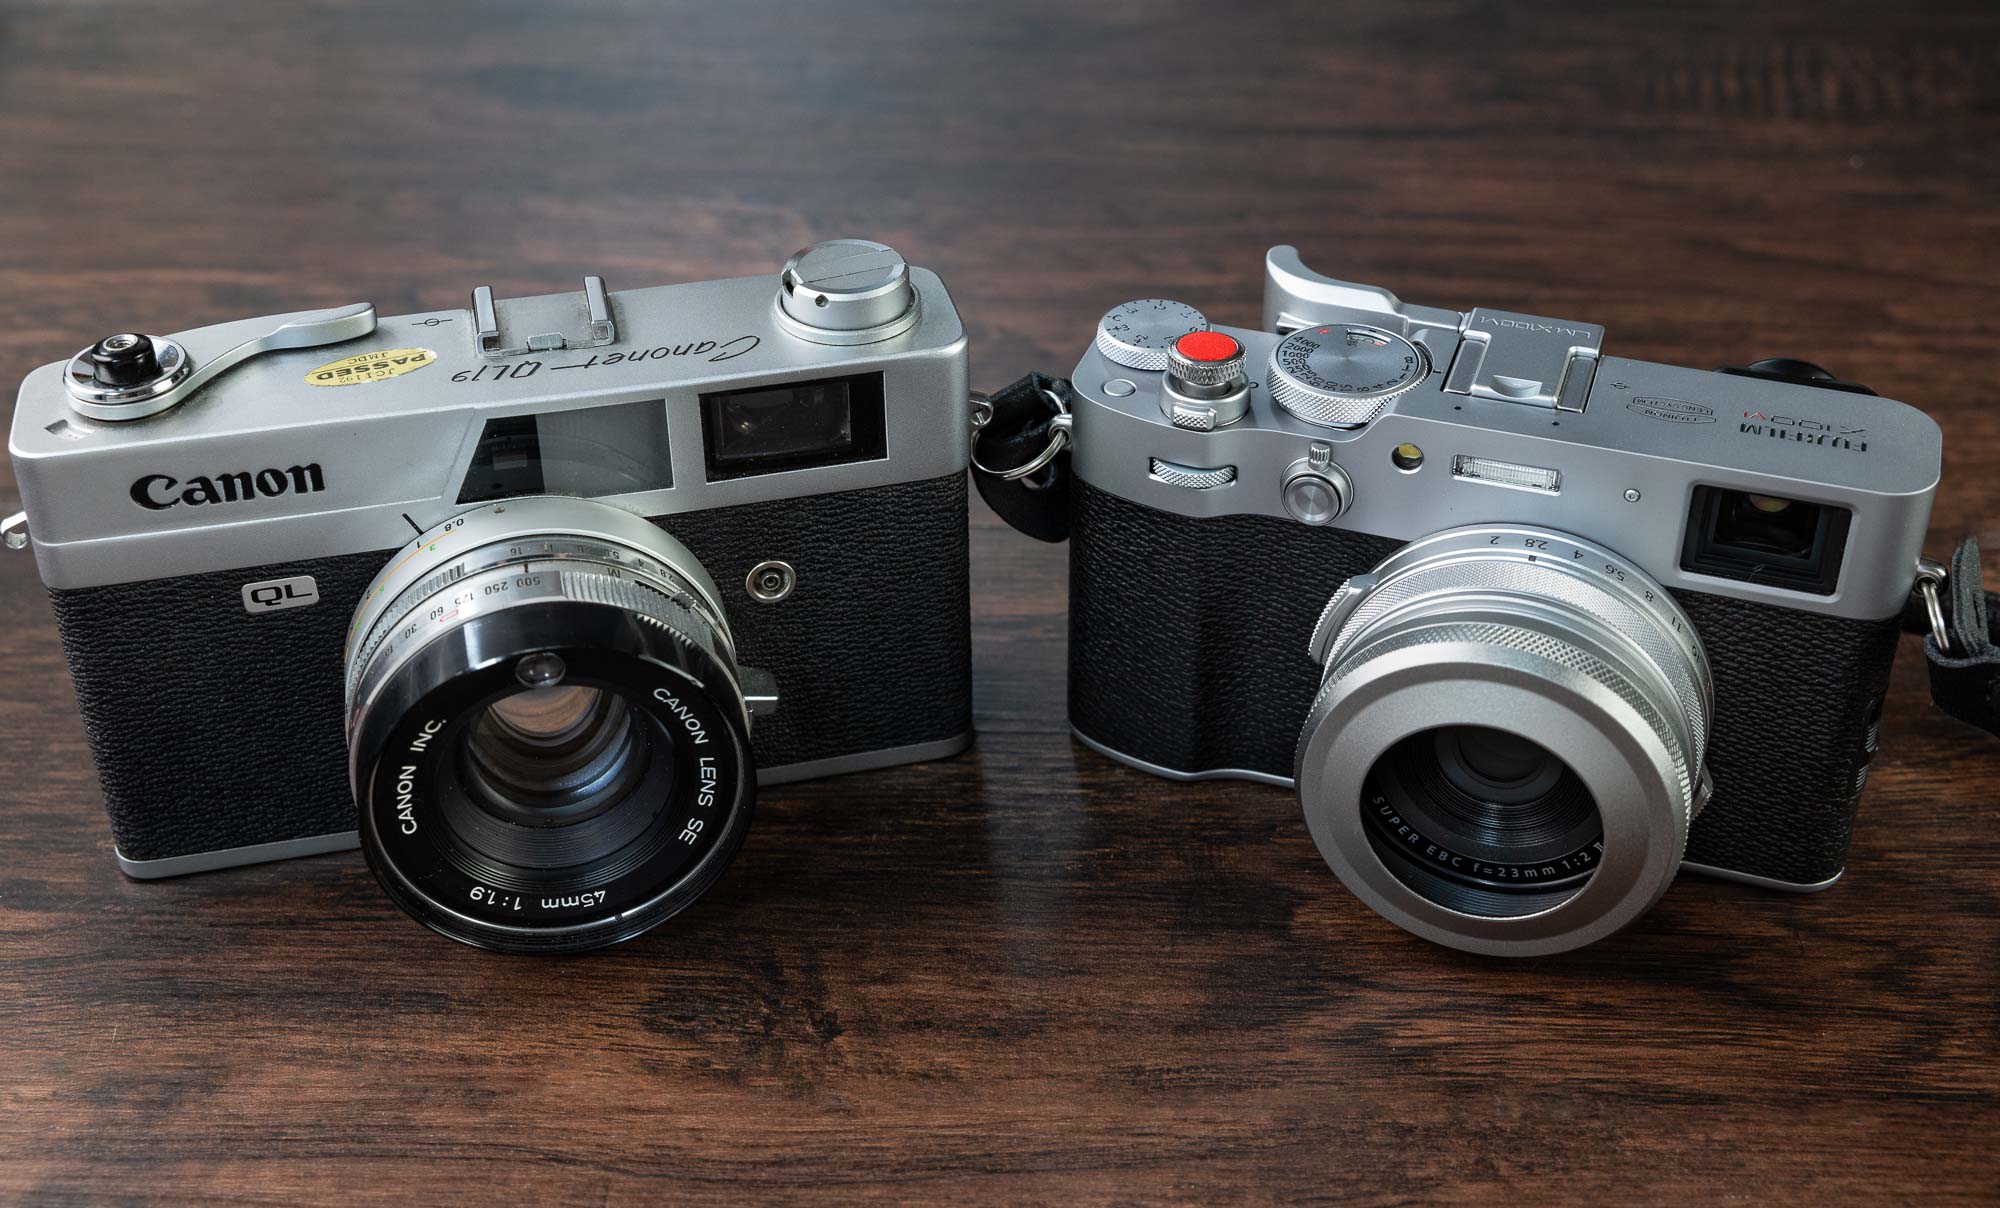
LEFT: Vintage Canon QL Range Finder
RIGHT: Retro/vintage camera design of the FujiFilm X100VI
Since I’m too old for fashion accessories, after I got the camera set up and became comfortable with the controls, I took it out for the first shoot.
THE HYBRID VIEWFINDER
Some people will buy this camera because they’re looking for that vintage rangefinder style camera that Fuji attempts to emulate with their hybrid viewfinder. It’s called a hybrid viewfinder because you can switch between what is now an industry standard electronic viewfinder, an optical viewfinder, and a hybrid of the two. I didn’t grow up with rangefinder style film cameras, so the appeal is a bit lost on me. Once I figured out how to switch to the electronic viewfinder mode with the switch on the front of the camera, I never looked back.
FILM SIMULATIONS
Question: when is a filter not a filter? Apparently, when it is a Fuji film simulation. Conceptually I understand the differences between a filter that is applied in post, and Fujifilm Film Simulations. In practical terms, though I wasn’t quite sure about using film simulations. When I’m out taking photos. I don’t necessarily shoot for the filters that I will apply in post. I get the photos in to Lightroom and usually tinker around with edits and filters which best compliment the image based on a number of factors. Selecting a film simulation is much less flexible. If you’re shooting JPEG, then you have to select the Film Simulation you want before you take the photo and once applied there’s no going back. Film simulations, like actual film, require the photographer to have a firm understanding of the conditions and situations which best complement the use of the film simulation. I didn’t get serious about photography until the dawn of the digital era so I never shot with film beyond the point-and-shoot film cameras that I grew up using. So I don’t have a foundation in understanding when it’s best to use Classic Chrome or Eterna for example. There is a bit of a workaround when shooting in camera RAW. With the camera tethered to your computer, and using the free FujiFilm X Raw Studio, you can play with applying different Film Simulations to the RAW files. There is a definite advantage to saving images in both JPEG and camera RAW which is something I don’t typically do with my Canon cameras. Initially I opted to set the X100VI to the PROVIA/STD Film Simulation, and then played with the RAW images in FujiFilm X Raw Studio.
Here’s one of the first test photos I took of my Rottweiler Athena – my always willing model:

For this photo, I settled on ACROS as the film simulation. I didn’t quite nail the shutter speed (blurry tongue) because I was having difficulty fiddling with the default dials on top of the camera for shutter speed and ISO. Those dials are neat and lend to the retro aesthetic of the camera, but fast they are not. I ended up putting the shutter in “T” mode which changes the control of the shutter speed to the back right side thumb dial, and I mapped ISO to another dial on the front of the camera. This layout is much faster to work with in the field, as well as being more similar to how I adjust shutter speed and ISO on a Canon camera.
I should mention that technically speaking you have the option to use Lightroom, Capture One, or FujiFilm X Raw Studio for editing X100VI RAW files, and applying film simulations. There is however an important distinction: Only when using X Raw Studio with the X100VI tethered to your computer will your images display absolute, “true” Fuji colors and tones. That’s because no other photo editor can match 100% to the in-camera built-in Fuji JPEG conversion engine. Photo editors will essentially apply a LUT to a Fuji RAW image file, which is very different than what the in-camera processor does. The end result may be only be a subtle difference. But it’s something to be aware of for your workflow. I found X Raw Studio to be painful to work with and I’m well satisfied with the look that I’m getting from Lightroom Classic.
Next I decided to do a little watch photography (fans of ThruMyLens know I’m a long time watch enthusiast). Here’s a shot of my Submariner (taken at F2.8) which looks fantastic for a first effort:
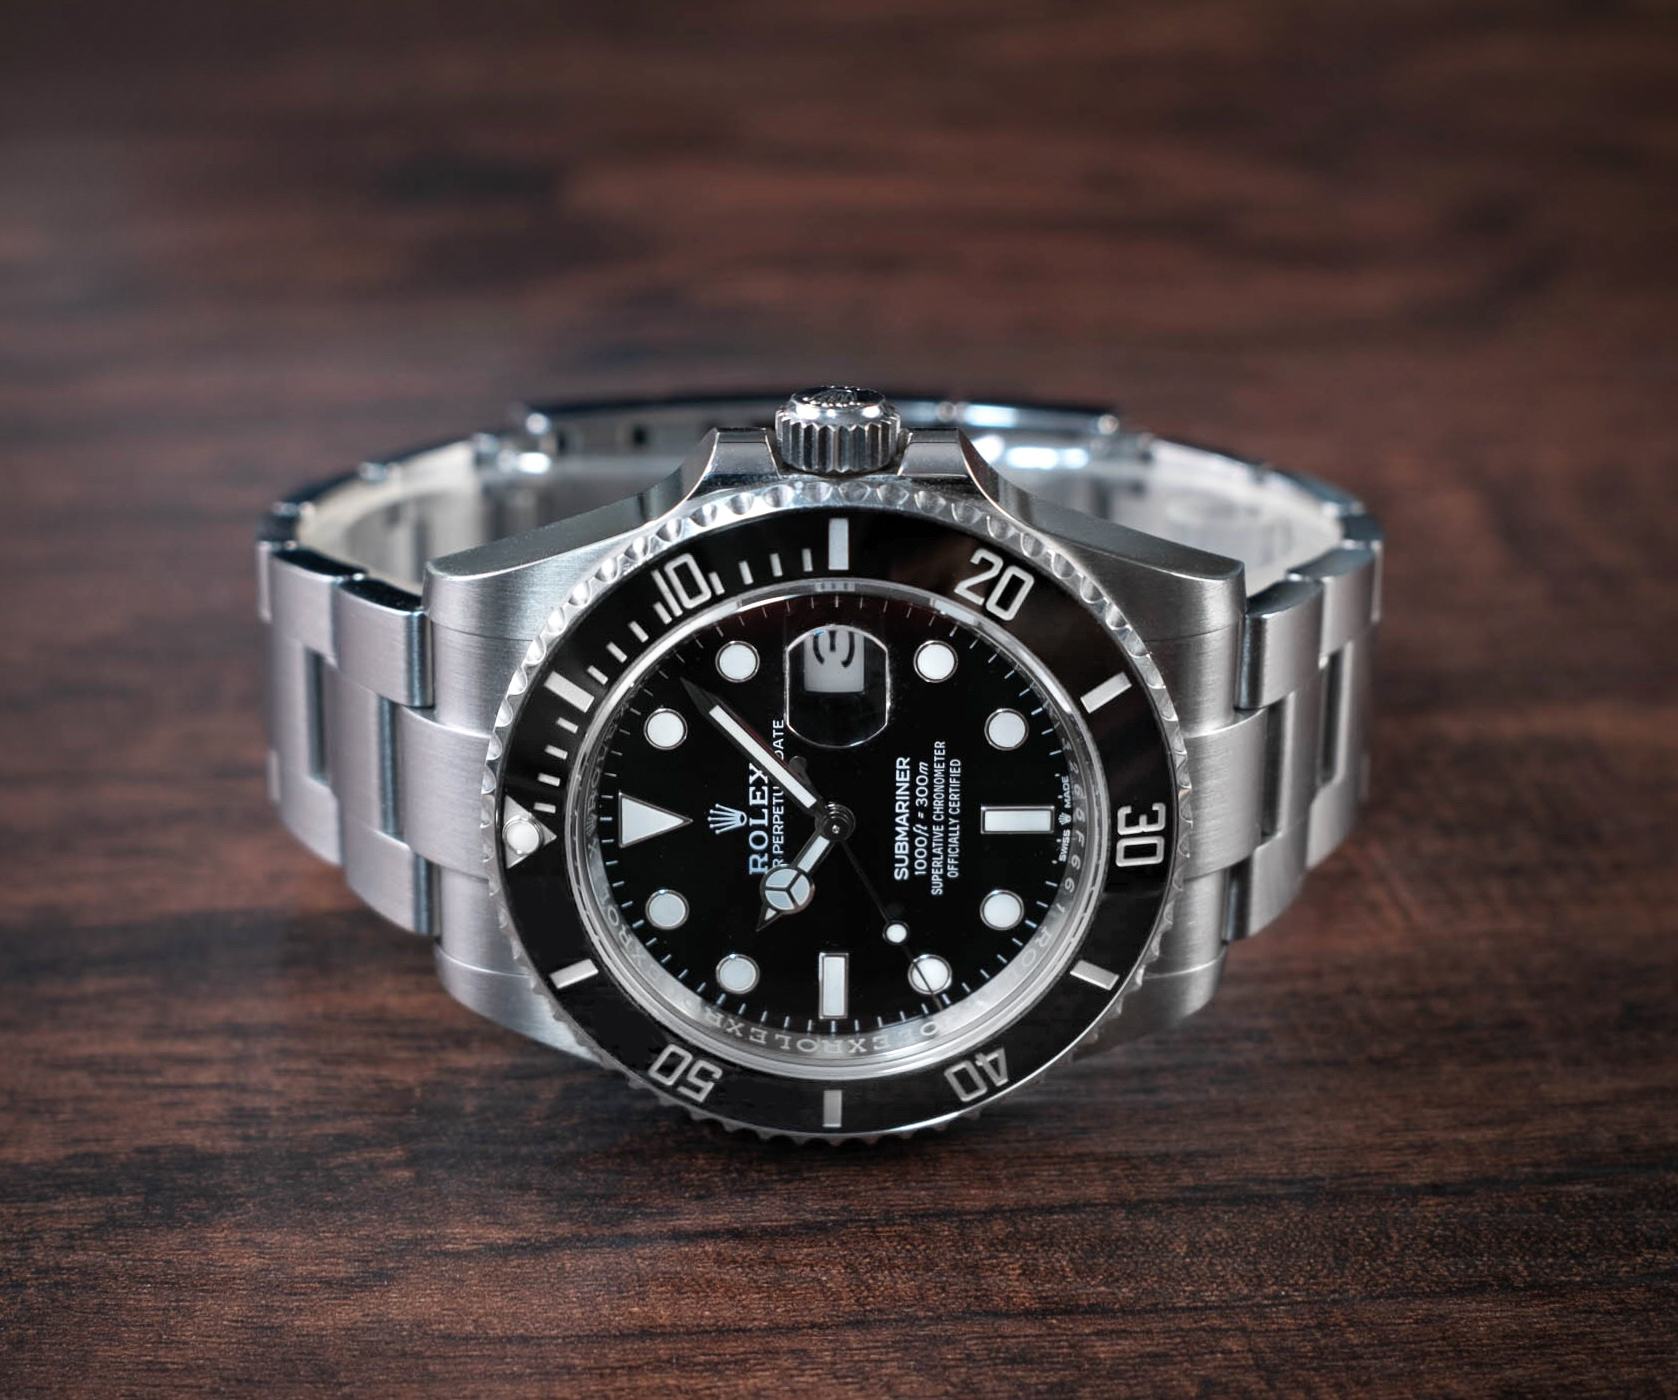
Prior to getting the X100VI, I had read some concerns with the Super EBC F2 23mm (35mm equivalent) fixed lens. Apparently, Fuji has used the same limbs on the last few iterations of the camera, and has not updated it. But the above watch photo is surprisingly sharp, particularly in the dial detail and left me extremely impressed.
My wife wanted to go to our local outlet mall shopping, which I thought would provide an opportunity for me to do some street style photography while she shopped. I also took the opportunity to edit the raw images and apply a few different film simulations to get a better handle on them:

Pro Neg Hi film simulation

Acros film simulation

Velvia/Vivid film simulation

REALA ACE v2 film simulation
All of the photos were taken at F2. I turned on eye/face detection, and shot a couple of the above while the camera was simply hanging around my neck in order to be a bit less obvious about capturing candid photos. The technique worked quite well for the most part and I was reasonably happy with the auto focus. I certainly wasn’t getting the hit rate that I would from my Canon cameras, but it did work most of the time.
Here’s another photo I took to test the auto focus system. For this shot of my Rottweiler puppy (who was crated for feeding), I turned on animal eye detection to ensure focus locked on her and not on the bars of her crate. It worked… not amazingly or consistently well, but it definitely worked:

On the subject of auto focus, I should state that after playing a bit with the manual focus wheel, I switched back to auto focus. For the type of shooting I was doing, auto focus worked well enough. When it didn’t, I just touched the screen where I wanted focus to be, and the camera did the rest. For how I intend to use the camera going forward, I think this is how I’ll likely continue shooting with it. Though I do have the option to manually adjust the auto focus turned on. Again, many, many…many options.
The next morning I got up early and headed to the downtown Dayton area to get some outdoor shots. I started out in the Oregon District:

NOSTALGIC Neg film similation

ASTIA/Soft film simulation

Velvia/Vivid film simulation

Velvia/Vivid film simulation

NOSTALGIC Neg film simulation
I took the opportunity to try some car photography with my own car:

NOSTALGIC Neg film simulation

PROVIA/Standard film simulation
REALA ACE v2 film simulation
After shooting in the Oregon District, I moved to some locations downtown:

REALA ACE v2 film simulation

CLASSIC CHROME film simulation

REALA ACE v2 film simulation

Velvia/Vivid film simulation
I had a lot of questions before trying out this camera which I think other people may have as well so let me try to answer those questions below:
DO I CONSIDER THE FUJIFILM X100VI TO BE A PROFESSIONAL LEVEL CAMERA?
The short answer is no. You can absolutely get professional level results from the camera. But this is an enthusiast camera, and not a professional tool in my honest opinion. Consider how you can’t remove the SD card or the battery without removing the camera from either the tripod or removing the tripod mounting plate. That’s a deal breaker on a professional shoot. Most professional cameras also have dual memory slots for redundancy which the X100VI does not. The auto focus is at least two generations behind the competitors and far too inconsistent for professional use. The number of buttons and dials on the camera insures you can customize the settings to your liking but it’s not what you need on a professional camera body. I lost count on how many times I accidentally hit the “Q” button when trying to hold the camera because of where the button is placed. You bring the viewfinder up to your eye and instead of your subject, you’re staring at the quick menu. That doesn’t mean the X100VI isn’t a great camera. It’s just not a professional camera. FujiFilm makes other camera bodies that are probably more suitable for a professional use. But they seem to occupy a very niche position in the overall camera market. They offer a plethora of interchangeable APS-C camera bodies and lenses (which very few photographers use professionally) and a couple of quasi large format cameras most suitable for portrait, landscape, or other still type photography. And nothing in the middle. Which I think is odd.
DO MY PHOTOS LOOK MORE “FILM LIKE?”
In some cases, yes. The B&W Photo of my Rottweiler Athena for example has a very film like quality to it in my opinion. The fixed F2 35 mm equivalent lens on this camera has some definite vintage lens character. That, combined with the use of film simulations brings a very unique look to the images this camera produces, which is something I was seeking. I’m really looking forward to diving into the world of custom film simulation “recopies” which can simulate other types of film (not just FujiFilm) looks. Leica look anyone?
WAS SHOOTING WITH A FIXED 35MM EQUIVALENT LENS LIMITING?
Not really, no. 35mm is my favorite focal length. Fuji does make some accessory conversion lens add ons that give you a bit more width and zoom. I’m not sure that’s entirely necessary though. If I was trying to get a shot wider than what 35mm would allow that I would simply take a series of photos and stitch them together in post. And the 40 megapixel sensor gives you plenty of meat on the bone to work with if you want to crop in which came in very handy. The camera does have crop mode settings so that you can frame your shot at 50mm and 70mm focal length perspectives (sort of like a Leica Q3). But I prefer to do that in post.
DO I RECOMMEND THE FUJIFILM X100VI FOR BEGINNERS?
Good heavens, no. There are far better, far easier camera bodies on which to learn fundamentals like the exposure triangle, manual focusing, and good composition. I’ll say again that this is an enthusiast camera. Not for a beginner. And not for the faint of heart either. Before receiving the camera, I naïvely thought that this would be a simple point and shoot camera that I can hand off to my wife to take a quick snapshot. I now realize I would have to create a completely different profile for my wife to use this camera. You can’t just flip one switch to put it in completely automatic mode.
WILL I BE KEEPING THE CAMERA?
That would be a resounding “yes.” During the 2nd day I felt like I was getting the hang of the camera and started to really enjoy the shooting experience. I mean really enjoy the experience. Walking around with this little camera on my neck…unburdened, yet capable. It was a more playful shooting experience. I looked for shots I typically would not see or try to shoot with my Canon. Editing the photos was similarly enjoyable, and I think I’m starting to get a feel for matching a scene to a film simulation. The end results were images that do not look at all like photos I typically take. Again, I can’t wait to dive into film simulation recipes to get some options which are beyond those that are included with the camera.
OK…I’LL ADMIT PLAYING BARBIE WITH THE CAMERA IS FUN
Undeniably, I enjoyed the process of customizing the camera with some accessories. There’s a multitude of options in the marketplace for example for accessory shutter release buttons. Some accessories for this camera are very necessary. Well, some are simply fun, but I did write an entire article on my recommended accessories for the X100VI which you can read by clicking here.
A WORD ABOUT VIDEO PERFORMANCE
Compared to previous iterations of the X100, the X100VI has very impressive video capabilities. But I’m a photo guy first and foremost. When I do video, I’ll continue to use my Canon gear. I didn’t buy the X 100VI to shoot video. That’s not to say I won’t ever play around with the X100VI for video, but for purposes of this review, I didn’t.
FINAL THOUGHTS
I’m pretty blown away by this little camera. It has excellent resolution, great low-light abilities, and beautiful color rendering. I can’t say that these qualities are necessarily better or worse than those found in Canon Cameras. They’re just different. Different is good. I’ve been craving variety. The X100VI fills this niche need that I didn’t even know that I had for a capable, fun to use camera. But from my perspective, the X100VI is a niche camera. It’s a little odd to me that the Fujifilm X100VI is now perhaps the best selling camera body… ever. I may feel like the last man on earth to actually get one after waiting for six months but the reality is that there are thousands of people out there still on waiting lists. I tend to think in 6 to 12 months you may see a lot of of these cameras up for sale because I think there are people buying them not truly understanding what they are, and are going to get frustrated by the learning curve which I like to call Mount Fuji. But if you’re willing to put in the time and climb the steep mountain of a learning curve, you will be rewarded.
Here’s my video supplement to the written photo review:
0 Comments
Trackbacks/Pingbacks