

I’ll start off this review by stating I really didn’t think I needed the Westcott Photography Wagon. That is until I went on a recent portrait shoot to do homecoming pictures with a friend’s daughter in a local park called Cox Arboretum. I was anxious to try an outdoor shoot with my Westcott FJ400 II strobe and the Octa-M modifier I had acquired earlier in the year. Cox Arboretum is not a small venue and the strobe isn’t exactly light. Then there’s the modifier…not to mention all the camera gear. It would be a lot for anyone to haul around from one end of Cox Arboretum to the other…particularly this 56 year-old photographer. Fortunately, I had our friend bring along their sports wagon which worked well enough for the late afternoon outing and I got fantastic pics in several different locations within Cox Arboretum. But the experience really opened my eyes to the utility offered by Westcott’s Photography Wagon.
At first, the wagon purchase was difficult to justify as I don’t do portrait work professionally. But the more I thought about how I could justify the approximately $200 purchase, the more it made sense. The fact that I get a 10% discount at Westcott as a PetaPixel member also helped.
Firstly, let me say it doesn’t really require assembly – once it’s unboxed you just pull it out and expand it by pulling on the sides. To collapse it, pull on the black handle in the center of the wagon cargo area:

Pulling on the black handle inside the wagon’s cargo area collapses it for storage and transport.
It’s got a couple of canvas side panels that fold over – one of which has some handy Velcro pockets. Why it doesn’t have the Velcro pockets on both side panels I don’t know.

The back panel of the Photography Wagon can lay down like a truck lift gate to transport longer items.
I could definitely see clients wanting to toss stuff in the wagon like purses, coats, or changes of clothing. That will make it difficult for the photographer to find their gear. Those side pockets help keep transported gear organized – the more the merrier. When you’re done using it, just fold the canvas sides into the wagon and pull up on a cleverly designed handle – it will compress like an accordion into a nice compact package that only weighs 24lbs. You really couldn’t ask for a better design for ease and speed of transport and set up. To test the Photography Wagon, I packed it up and brought it back out to Cox Arboretum for a self-portrait session.
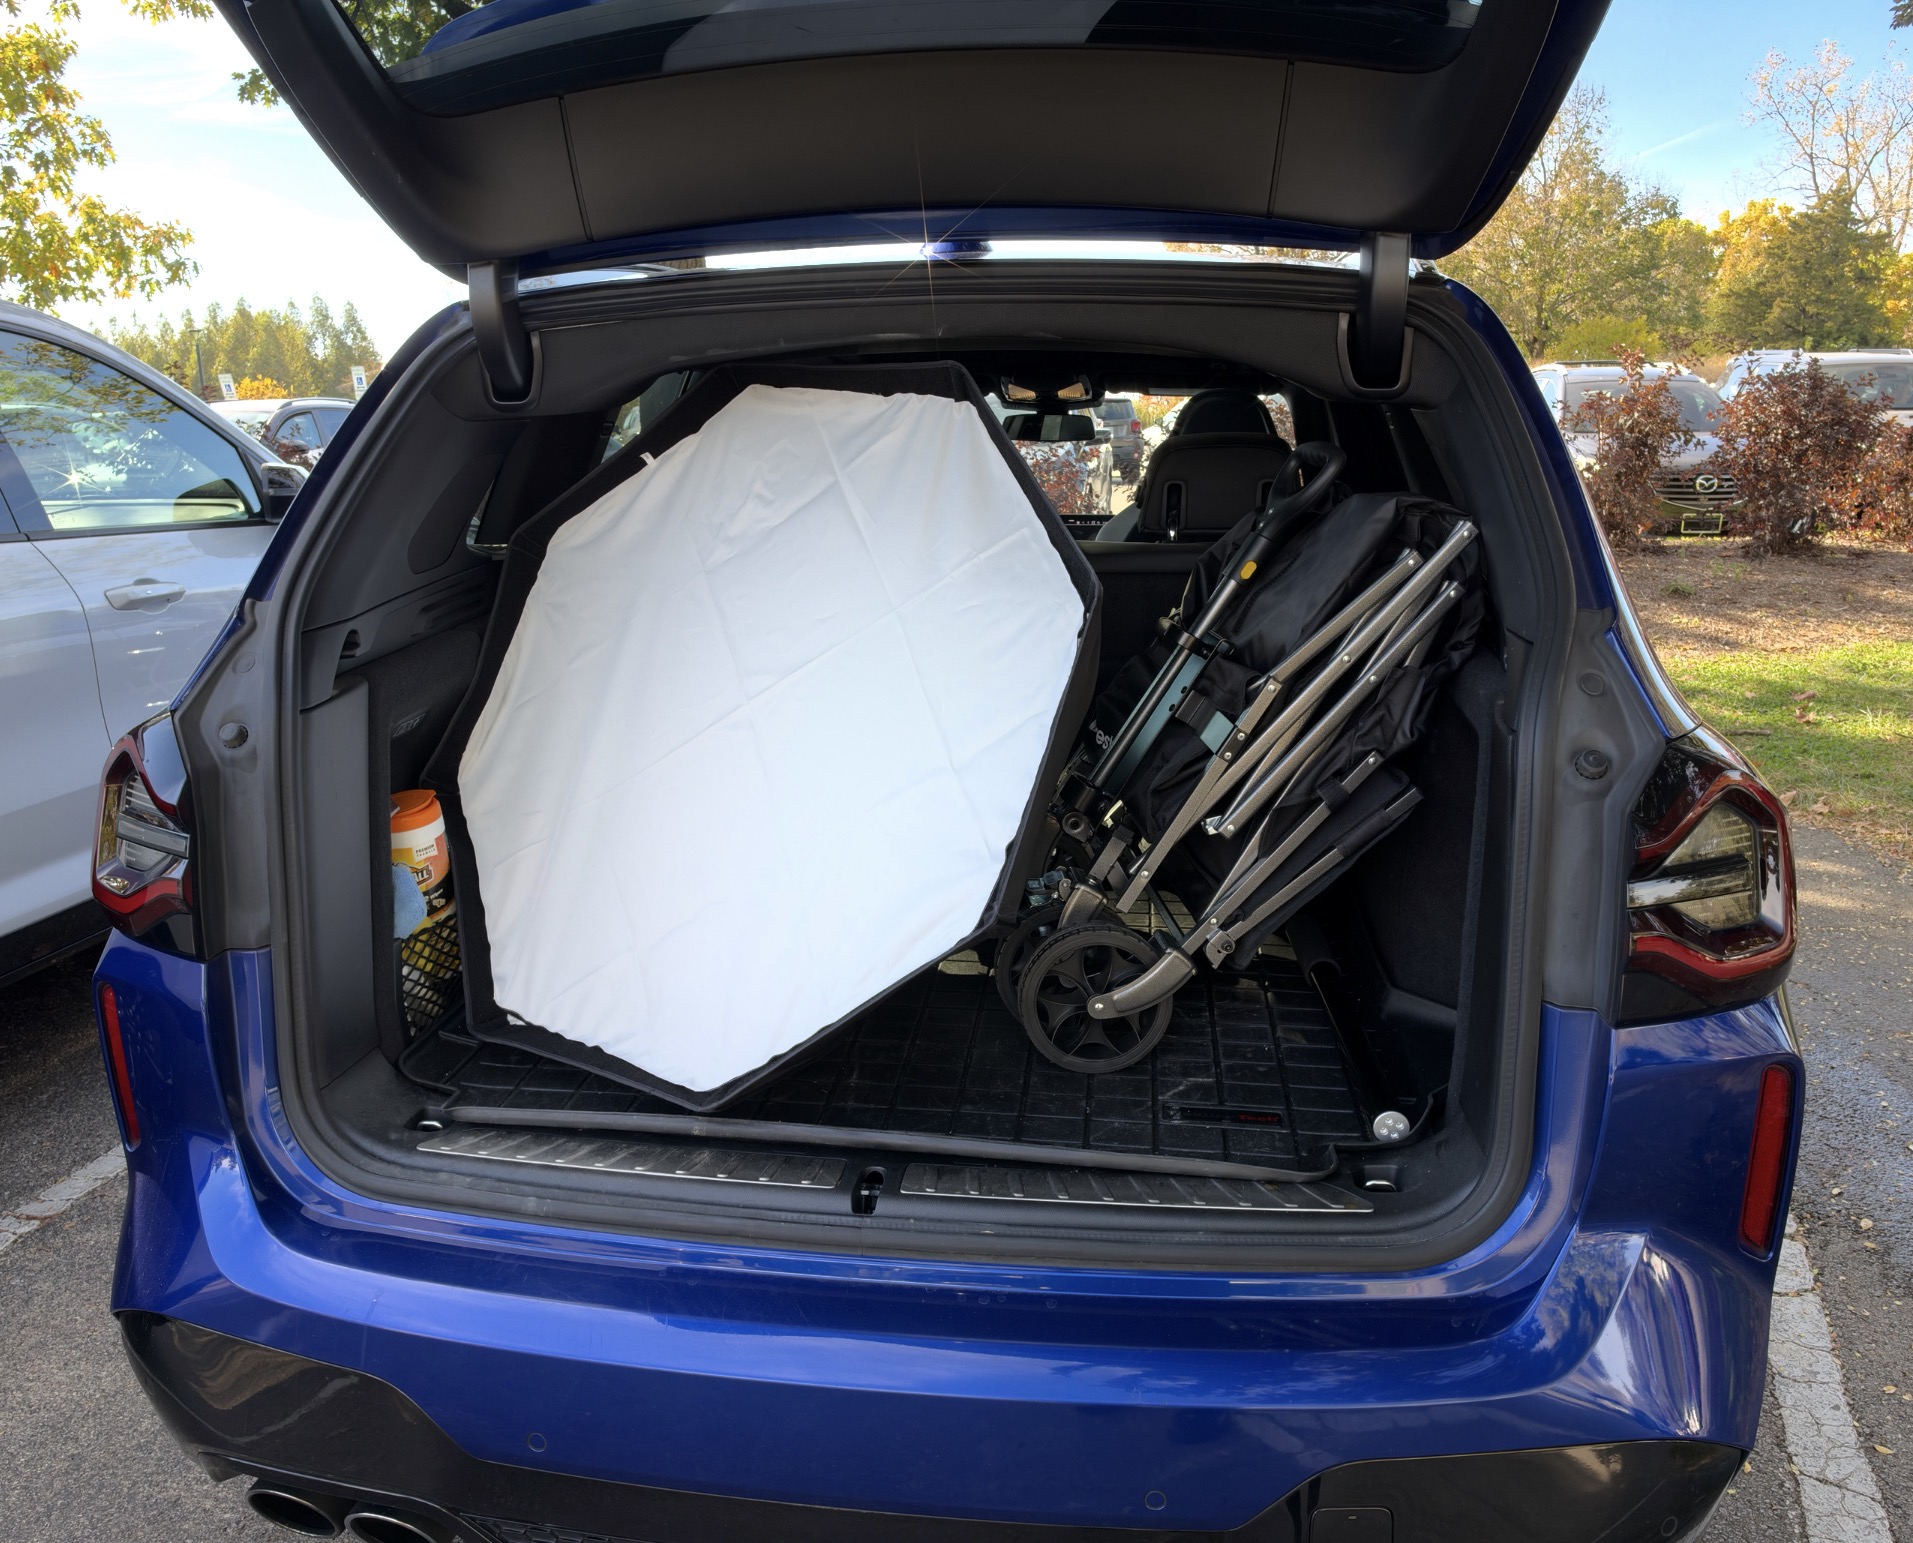
The Photography Wagon (right) takes up less space in my SUV than does the Octa-M modifier I brought along.
The basic wagon looks and functions much like a soccer mom’s sports gear wagon. It has a nice length adjustable handle to pull and maneuver the wagon, and nice rugged wheels for navigating outdoor terrain, complete with wheel brake locks to keep the wagon from rolling.


The brakes have separate “lock” and “unlock” foot pedals.
But the Photography Wagon also has some nice features customized for photographers. The most valuable of which is the included boom pole. The boom pole fits into a custom receptacle on the front of the wagon to the right of the wagon’s handle.

The bottom of the boom pole has four holes which match up to four balls inside the boom mount so it locks into place and provides excellent stability for the boom.
I’ve seen some criticism that the boom pole receptacle isn’t mounted on the back of the wagon – a criticism I don’t share. The back of the wagon has a handy fold down panel that allows longer items to fit inside. So mounting the boom pole to the back wouldn’t work. Mounting it on the sides would be far less stable and would make the wagon prone to tip over with a light and modifier on the boom pole. So mounting the boom on the front of the wagon is really the only viable alternative. I mounted my Westcott FJ400 II with the Octa-M modifier to the boom pole and didn’t have any problems pulling and maneuvering the wagon on my outing.

When rolling the wagon, I lower the boom and rotate the light so that the modifier is over the wagon providing extra stability.
I’ve lived near Cox Arboretum for over 20 years and have been there photographing more times than I can count. Let me just say that this time was the most relaxing and enjoyable time I’ve ever spent photographing there. Not having to carry all my gear, and being able to swap out gear from inside the wagon was a joy. Even if I wasn’t bringing any lighting equipment, I’d want to use the wagon. Candidly, I’m far more concerned about comfort than style at this point in my life. As I did have my strobe and modifier with me, I did set it up for a quick self-portrait session:


With the strobe mounted on the wagon’s boom pole it was simple to maneuver the wagon and position the strobe where I needed it. I’m only about 5’7” tall so I didn’t need to raise the boom pole to its maximum height. I used the foot-operated brakes to make sure the wagon didn’t roll and found the set up very stable. Admittedly there wasn’t much wind that day – but using a strobe with a modifier is problematic in windy conditions no matter what. Particularly if you’re a solo act and don’t have an assistant to hold the light stand. You could easily throw some sandbags or weights into the wagon and you’d have a pretty darn stable setup. So the Photography Wagon is a super useful piece of kit for solo photographers.

Keep in mind that with a couple of added accessories, the utility of the Photography Wagon goes well beyond a portable light stand. You can mount a reflector onto the boom pole (again super handy if you don’t have an assistant) or even a background for doing headshots. I actually ordered the collapsible background that’s compatible with this system as I believe it will be super useful in the dog photography I like to do.
For the price of a lens filter or two, photographers now have a purpose-built tool available to them which can open all manner of creative possibilities – particularly for the solo professional photographer. Yes, you can DIY a cart or wagon with similar features. Can you do a DIY wagon for less money? Maybe…maybe not. Will it look as polished or professional to your clientele? Likely not. I was extremely impressed with the Westcott Photography Wagon and will definitely get my money’s worth out of mine.
0 Comments